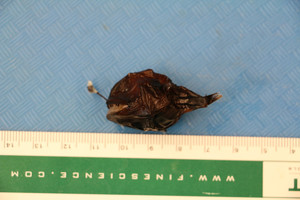
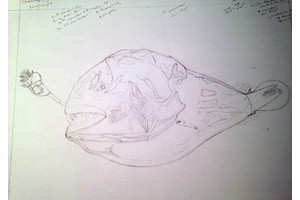
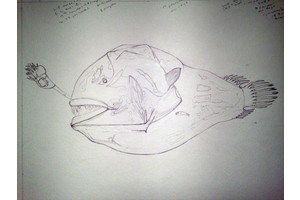
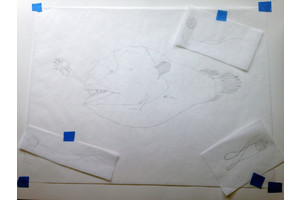
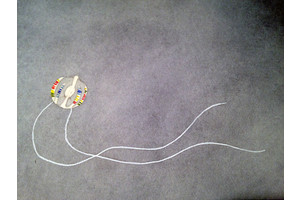
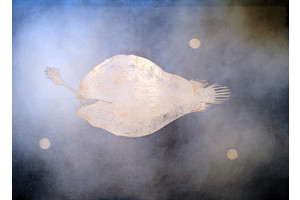
With this post I wanted to share something a bit more interesting about myself and my process. I recently finished a commissioned piece featuring an Anglerfish, specifically Chaenophryne longiceps and thought it would make a great example of how I work. I have included photos for visual reference :)
I have loved deep-sea fishes for a long time, I find their adaptations fascinating and getting the chance to portray one, was quite exciting for me. For anyone not familiar with these amazing animals, I recommend looking them up!
With the species being from the deep-sea, difficulty comes in gaining reference materials to illustrate from. You can’t go buy one at Pike Place or see it swimming at the aquarium. Luckily I volunteer for the Burke in their ichthyology (fish) collection. They have an extensive collection of preserved fish specimens, not to mention their larval, egg and scale collections.
Here I was able to get up close with the specimen, photographing and measuring her. I also did a host of research looking into the specifics of this species through books and journal articles. Pulling details like fin ray counts and average length of the illicium (part of the lure on their face).
Once I had all the necessary information, I used my photos and previous measurements to make a preliminary sketch, also noting areas of highlight and shadow from the photos. From here I made a secondary sketch and a tertiary, etc adjusting the details, each attempt getting closer to the correct proportions of each structure.
TIP: When doing multiple sketches, I like to do them on tracing paper in graphite, placing each new one over the last. This allows for retention of all the previous information, while being able to make small adjustments. It also erases really easily!
When I was happy with everything, I made a tracing of my sketches onto a piece of actual paper. Most often onto Canson XL Bristol paper.
TIP: I have used Saral paper in the past, but have preferred recently to make my own transfer paper, using tracing paper colored with graphite. This erases much better from your final paper! This is the final sketch I show my clients, verifying that they are happy before I put the piece onto it’s final paper.
Once clients the clients were happy, I moved on to the composition. I put the elements on separate pieces which I can move around until I have something which creates a nice flow. This can also be done digitally, but I am old school and really love my blue tape!
The piece was completed in watercolor. I used Arches hot press watercolor paper. I use hot press over cold press as it has a smoother texture, great for detail work. I masked the Angler and Jellyfish to do the background first.
Once the background was complete I took off the masks and went into working on the organisms. Watercolor is a slow process of layering coat on top of coat. Finally with all the watercolor done and everything dry, I went over the outlines with walnut ink. Many of my pieces recently have combined this ink outline with watercolor. I think the ink adds a great graphic pop to the piece.
With this done all I had left was to get it to my clients!
I hope this gives you a better understanding of who I am and how I work as an artist. I would love to hear your thoughts, so comments are welcome! Also thank you for reading the WHOLE thing! Please stop by again!
